
How to Change Valve Cover Gasket?
Learning how to change valve cover gasket sets protects your engine from messy,dangerous oil leaks.A failing gasket allows oil to drip onto hot exhaust manifolds.This creates smoke and a fire hazard.Fortunately,this repair is manageable for most DIY mechanics.
Signs You Need to Change Valve Cover Gasket
- Burning Oil Smell:You smell burnt oil while driving or idling.
- Dirty Engine:The top of the engine is covered in black sludge.
- Low Oil Levels:You frequently need to add oil between changes.
- Misfires:Oil leaks into the spark plug wells,causing ignition failure.
Get A Quote Now
Tools Required for Valve Cover Gasket Replacement
| Tool Name | Purpose |
|---|---|
| Socket Set (Metric) | To remove the cover bolts (usually 10mm or 12mm). |
| Torque Wrench | Critical. To tighten bolts to exact specifications. |
| Plastic Scraper | To remove old gasket material without scratching metal. |
| Brake Cleaner | To clean the mating surfaces thoroughly. |
| RTV Silicone | To seal sharp corners and “T-joints.” |
| Rubber Mallet | To gently tap the cover loose if stuck. |
Step 1: Preparation and Safety
Safety is your priority. The engine must be cool before you start changing valve cover gasket components. Hot metal causes burns.
First,disconnect the negative battery terminal to prevent electrical short circuits.Next,remove all decorative plastic covers.You may need to mark and disconnect hoses or spark plug wires.Take photographs of the engine before disassembly to ensure all components are reinstalled correctly.
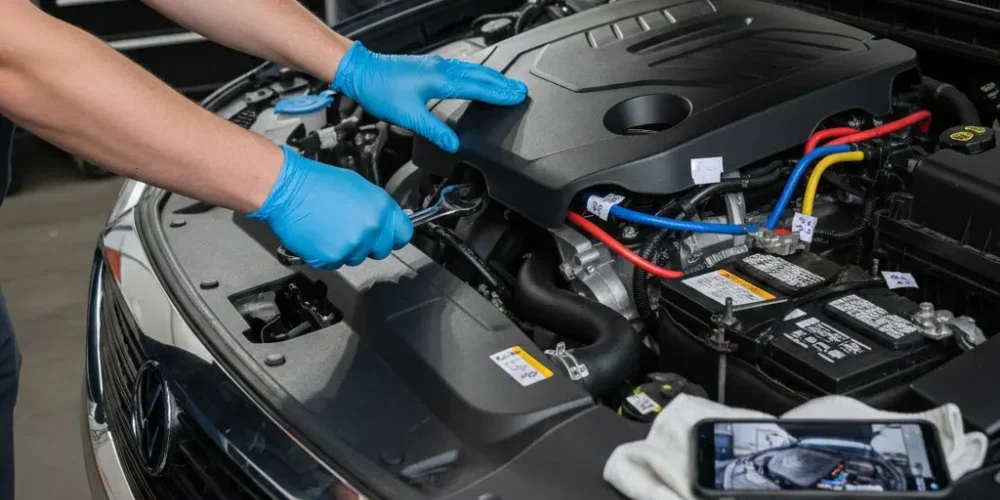
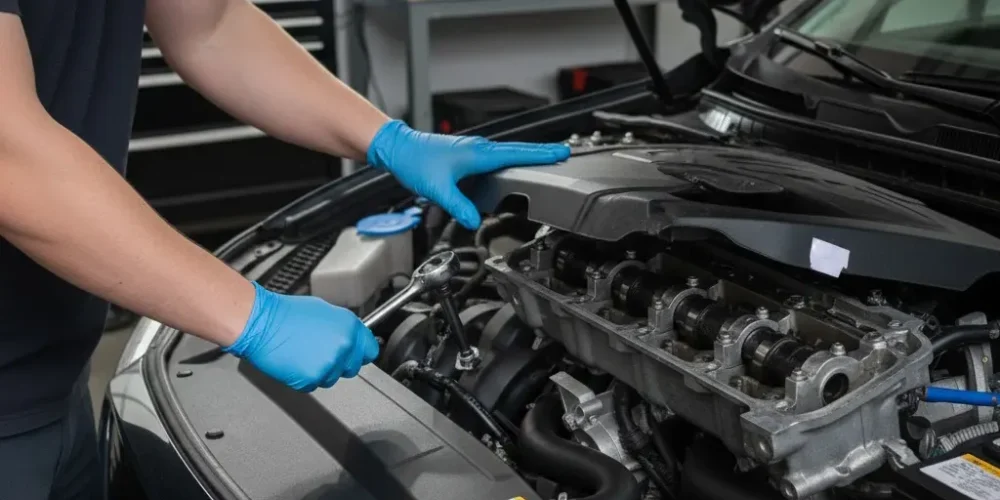
Step 2: Removing the Old Cover
Locate the bolts holding the engine valve cover. Loosen them carefully.
Sometimes the cover plate may stick to the cylinder head.Never use a metal screwdriver to pry it off,as this may scratch the aluminum surface.Instead,gently tap it with a rubber mallet.Once the cover plate loosens,lift it straight up.
Now, inspect the old rubber.When changing valve cover gasket rubber,you will likely find it hard and brittle. Peel it off and discard it.
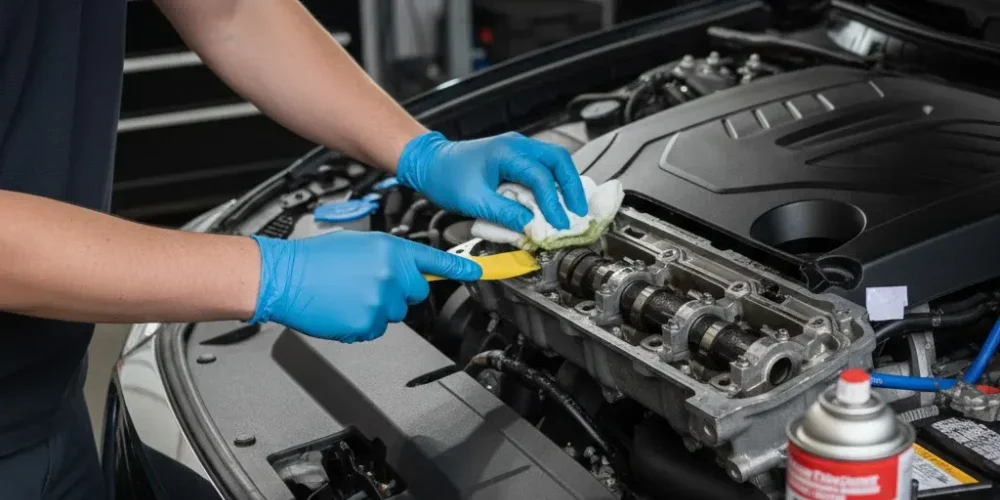
Step 3: Cleaning the Surfaces
This is the most critical step in valve cover gasket replacement;the new gasket requires a completely clean surface.
Use a plastic scraper to remove old silicone.Spray brake cleaner onto a lint-free rag.Wipe the cylinder head surface until it is shiny.Do not leave any oil residue.Even a drop of oil can cause the new gasket to leak immediately.Also,clean the groove inside the valve cover itself.
Critical Check: Is the Valve Cover Warped?
Before installing new gaskets,the cover itself must be inspected first. Plastic covers often deform due to high engine temperatures.Deformed covers cannot seal tightly against the cylinder head.
Flip the lid over.Place a precision straightedge against the sealing surface.Check for gaps between the ruler and the plastic.
If light shines through,it indicates the valve cover is warped.Replacing the rubber gasket on a warped valve cover is ineffective.The entire valve cover assembly must be replaced to eliminate the leak.
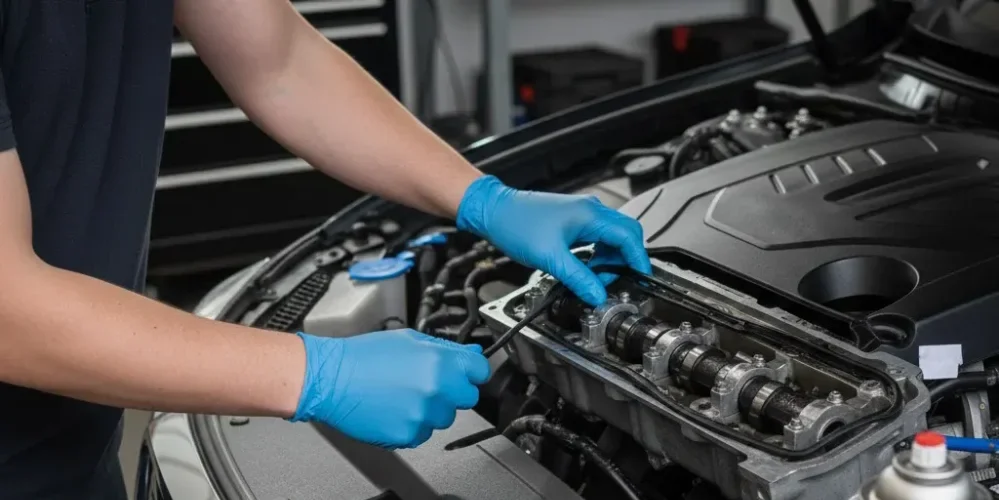
Step 4: Changing Valve Cover Gasket and Sealing
Now,install the new part.Press the new rubber gasket into the valve cover groove.It should fit perfectly.
Pro Tip:Apply a small dab of RTV silicone at “sharp corners.”These are usually found where the timing cover meets the cylinder head.These T-joints are common leak points.
Carefully lower the cover onto the engine.Ensure the gasket stays in place.If it slips,you must lift the cover and reset it.
Step 5: The Tightening Sequence
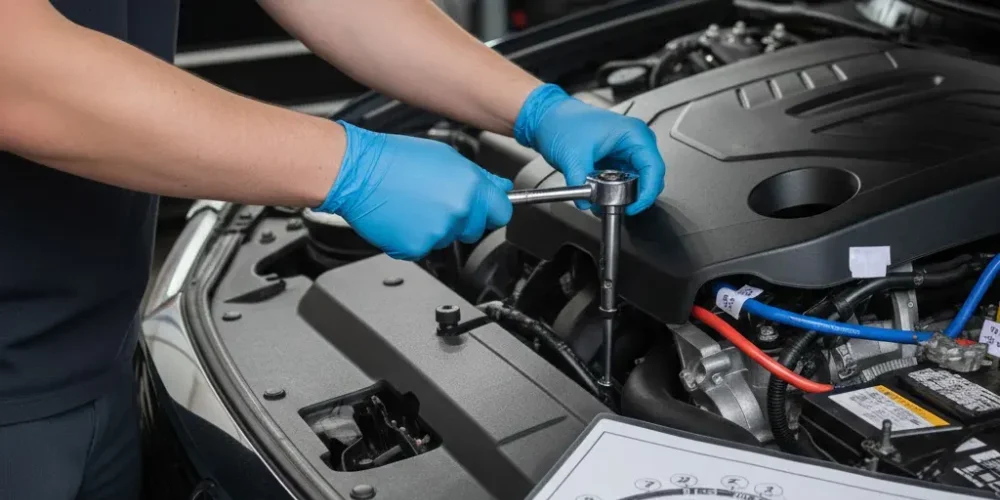
You cannot tighten bolts randomly.A specific tightening sequence must be followed to ensure uniform sealing.
Start from the center bolts.Work your way outward in a spiral or crisscross pattern.
Use your torque wrench.Most valve cover bolts require very low torque (usually 8 to 10 Nm).Overtightening is a major mistake.If you overtighten,you will crack the plastic cover or snap the bolt.
Common Mistakes During Valve Cover Gasket Replacement
| Mistake | Consequence | Prevention |
|---|---|---|
| Overtightening Bolts | Cracks the cover or splits the gasket. | Always use a torque wrench. |
| Dirty Surfaces | The new gasket will not seal. | Clean with brake cleaner until dry. |
| Pinching the Gasket | Massive oil leak immediately. | Check alignment with a mirror before tightening. |
| Ignore Spark Plug Tube Seals | Oil floods the spark plugs. | Always replace tube seals when changing valve cover gasket. |
Understanding the Costs Involved
If this process sounds too difficult,you can hire a professional.However,labor costs are high.
The parts are cheap,but the labor takes time.Mechanics charge for the disassembly of layers above the engine.For a detailed breakdown of pricing,you can check this guide on valve cover gasket replacement cost.Doing it yourself saves significantly on labor fees.
FAQs on Replacing Valve Cover Gaskets
For a 4-cylinder engine,it takes about 1 hour.V6 or V8 engines may take 2 to 4 hours due to extra components.
No.The oil sits in the pan at the bottom.Changing valve cover gasket sets happens at the top, so no oil draining is required.
No.RTV silicone is only for corners.Using it as a full gasket replacement usually fails and clogs internal oil passages.
Contact Us Now
- RM901 No.22 Tangjiaqiao Road Wenzhou China
- +86 138 1973 9327
- [email protected]
- https://www.autosparesupplier.com/